IOC-深入分析Aware接口
本文主要基于 Spring 5.0.6.RELEASE
摘要: 原创出处 http://cmsblogs.com/?p=3335 「小明哥」,谢谢!
作为「小明哥」的忠实读者,「老艿艿」略作修改,记录在理解过程中,参考的资料。
AbstractAutowireCapableBeanFactory 的 #doCreateBean(final String beanName, final RootBeanDefinition mbd, final Object[] args) 方法,主要干三件事情:
- 实例化 bean 对象: #createBeanInstance(String beanName, RootBeanDefinition mbd, Object[] args) 方法。
- 属性注入: #populateBean(String beanName, RootBeanDefinition mbd, BeanWrapper bw) 方法。
- 初始化 bean 对象: #initializeBean(final String beanName, final Object bean, RootBeanDefinition mbd) 方法。
而初始化 bean 对象时,也是干了三件事情:
- 激活 Aware 方法
- 后置处理器的应用
- 激活自定义的 init 方法
接下来三篇文章将会详细分析这三件事情,这篇主要分析 Aware 接口。
1. Aware 接口
org.springframework.beans.factory.Aware 接口,定义如下:
```plain text java /** * Marker superinterface indicating that a bean is eligible to be * notified by the Spring container of a particular framework object * through a callback-style method. Actual method signature is * determined by individual subinterfaces, but should typically * consist of just one void-returning method that accepts a single * argument. * * <p>Note that merely implementing {@link Aware} provides no default * functionality. Rather, processing must be done explicitly, for example * in a {@link org.springframework.beans.factory.config.BeanPostProcessor BeanPostProcessor}. * Refer to {@link org.springframework.context.support.ApplicationContextAwareProcessor} * and {@link org.springframework.beans.factory.support.AbstractAutowireCapableBeanFactory} * for examples of processing {@code *Aware} interface callbacks. * * @author Chris Beams * @since 3.1 */ public interface Aware { }
1
2
3
4
5
6
7
8
9
10
11

---

Aware 接口为 Spring 容器的核心接口,是一个具有标识作用的超级接口,实现了该接口的 bean 是具有被 Spring 容器通知的能力,通知的方式是采用**回调**的方式。

Aware 接口是一个空接口,实际的方法签名由各个子接口来确定,且该接口通常只会有一个接收单参数的 set 方法,该 set 方法的命名方式为 set + 去掉接口名中的 Aware 后缀,即 XxxAware 接口,则方法定义为 setXxx(),例如 BeanNameAware(setBeanName),ApplicationContextAware(setApplicationContext)。

Aware 的子接口需要提供一个 setXxx 方法,我们知道 set 是设置属性值的方法,即 Aware 类接口的 setXxx 方法其实就是设置 xxx 属性值的。 Aware 的含义是感知的、感应的,那么在 Spring 容器中是如何实现感知并设置属性值得呢?我们可以从初始化 bean 中的激活 Aware 的方法 #invokeAwareMethods(final String beanName, final Object bean) 中看到一点点,代码如下:

```plain text
java // AbstractAutowireCapableBeanFactory.java  private void invokeAwareMethods(final String beanName, final Object bean) {     if (bean instanceof Aware) {         // BeanNameAware         if (bean instanceof BeanNameAware) {             ((BeanNameAware) bean).setBeanName(beanName);         }         // BeanClassLoaderAware         if (bean instanceof BeanClassLoaderAware) {             ClassLoader bcl = getBeanClassLoader();             if (bcl != null) {                 ((BeanClassLoaderAware) bean).setBeanClassLoader(bcl);             }         }         // BeanFactoryAware         if (bean instanceof BeanFactoryAware) {             ((BeanFactoryAware) bean).setBeanFactory(AbstractAutowireCapableBeanFactory.this);         }     } }
- 首先,判断 bean 实例是否属于 Aware 接口的范畴,如果是的话,则调用实例的 setXxx() 方法给实例设置 xxx 属性值,在 #invokeAwareMethods(…) 方法,主要是设置 beanName,beanClassLoader、BeanFactory 中三个属性值。
2. Aware 子类
Spring 提供了一系列的 Aware 接口,如下图(部分):
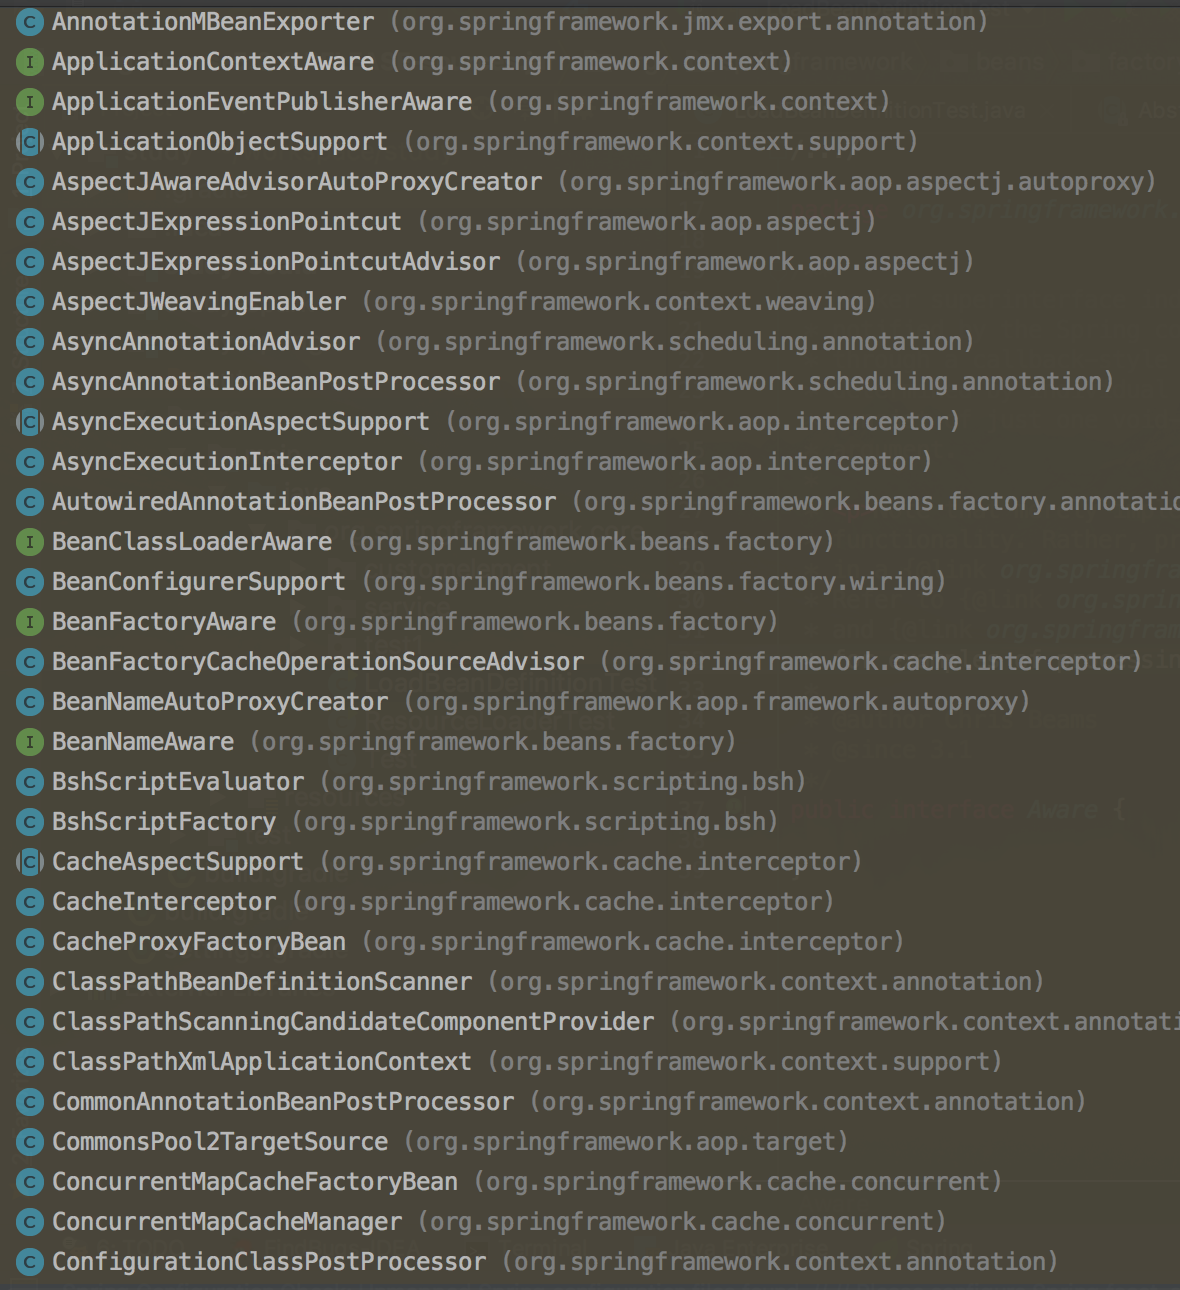
201808210001
上面只是一部分子类,从这里我们可以看到 Spring 提供的 Aware 接口是是何其多。同时从上图我们也看到了几个比较熟悉的接口,如 BeanClassLoaderAware、BeanFactoryAware、BeanNameAware,下面就这三个接口来做一个简单的演示,先看各自的定义:
```plain text java public interface BeanClassLoaderAware extends Aware { /** * 将 BeanClassLoader 提供给 bean 实例回调 * 在 bean 属性填充之后、初始化回调之前回调, * 例如InitializingBean的InitializingBean.afterPropertiesSet()方法或自定义init方法 */ void setBeanClassLoader(ClassLoader classLoader); } public interface BeanFactoryAware extends Aware { /** * 将 BeanFactory 提供给 bean 实例回调 * 调用时机和 setBeanClassLoader 一样 */ void setBeanFactory(BeanFactory beanFactory) throws BeansException; } public interface BeanNameAware extends Aware { /** * 在创建此 bean 的 bean工厂中设置 beanName */ void setBeanName(String name); } public interface ApplicationContextAware extends Aware { /** * 设置此 bean 对象的 ApplicationContext,通常,该方法用于初始化对象 */ void setApplicationContext(ApplicationContext applicationContext) throws BeansException; }
1
2
3
4
5
6
7
8
9

---

## 2.1 示例

下面简单演示下上面四个接口的使用方法:

```plain text
java public class MyApplicationAware implements BeanNameAware,BeanFactoryAware,BeanClassLoaderAware,ApplicationContextAware{      private String beanName;      private BeanFactory beanFactory;      private ClassLoader classLoader;      private ApplicationContext applicationContext;      @Override     public void setBeanClassLoader(ClassLoader classLoader) {         System.out.println("调用了 BeanClassLoaderAware 的 setBeanClassLoader 方法");         this.classLoader = classLoader;     }      @Override     public void setBeanFactory(BeanFactory beanFactory) throws BeansException {         System.out.println("调用了 BeanFactoryAware 的 setBeanFactory 方法");         this.beanFactory = beanFactory;     }      @Override     public void setBeanName(String name) {         System.out.println("调用了 BeanNameAware 的 setBeanName 方法");         this.beanName = name;     }      @Override     public void setApplicationContext(ApplicationContext applicationContext) throws BeansException {         System.out.println("调用了 ApplicationContextAware 的 setApplicationContext 方法");         this.applicationContext = applicationContext;     }      public void display(){         System.out.println("beanName:" + beanName);         System.out.println("是否为单例:" + beanFactory.isSingleton(beanName));         System.out.println("系统环境为:" + applicationContext.getEnvironment());     } }
测试方法如下:
```plain text plain public static void main(String[] args) { ClassPathResource resource = new ClassPathResource(“spring.xml”); DefaultListableBeanFactory factory = new DefaultListableBeanFactory(); XmlBeanDefinitionReader reader = new XmlBeanDefinitionReader(factory); reader.loadBeanDefinitions(resource); MyApplicationAware applicationAware = (MyApplicationAware) factory.getBean(“myApplicationAware”); applicationAware.display(); }
1
2
3
4
5
6
7
8
9
10
11
12
13
---
运行结果:

201808210002
从该运行结果可以看出,这里只执行了三个 Aware 接口的 set 方法,原因就是通过 #getBean(…) 方法调用时,在激活 Aware 接口时只检测了 BeanNameAware、BeanClassLoaderAware、BeanFactoryAware 三个 Aware 接口。如果将测试方法调整为下面:
```plain text
java public static void main(String[] args) { ApplicationContext applicationContext = new ClassPathXmlApplicationContext("spring.xml"); MyApplicationAware applicationAware = (MyApplicationAware) applicationContext.getBean("myApplicationAware"); applicationAware.display(); }
则运行结果如下:

201808210003
3. 小结
从这了我们基本上就可以 Aware 真正的含义是什么了?感知,其实是 Spring 容器在初始化主动检测当前 bean 是否实现了 Aware 接口,如果实现了则回调其 set 方法将相应的参数设置给该 bean ,这个时候该 bean 就从 Spring 容器中取得相应的资源。
最后文章末尾列出部分常用的 Aware 子接口,便于日后查询:
- LoadTimeWeaverAware:加载Spring Bean时织入第三方模块,如AspectJ
- BeanClassLoaderAware:加载Spring Bean的类加载器
- BootstrapContextAware:资源适配器BootstrapContext,如JCA,CCI
- ResourceLoaderAware:底层访问资源的加载器
- BeanFactoryAware:声明BeanFactory
- PortletConfigAware:PortletConfig
- PortletContextAware:PortletContext
- ServletConfigAware:ServletConfig
- ServletContextAware:ServletContext
- MessageSourceAware:国际化
- ApplicationEventPublisherAware:应用事件
- NotificationPublisherAware:JMX通知
- BeanNameAware:声明Spring Bean的名字